Looking for a fun and easy sensory play activity? This tutorial will show you how to make a DIY oil and water sensory bottle for kids that is both fun and educational.
Are you looking for something fun, educational, and easy to make with your kids at home?
Why not try making an oil and water sensory bottle?
Not only is it an interesting and calming sight for little ones, but the experience is also a great way to learn about science concepts like density.
Plus, this DIY project requires minimal inexpensive supplies yet offers majorly cool results.
So, let’s put on your creative hats, gather your supplies, and let us walk you through how it’s done in just a few simple steps.
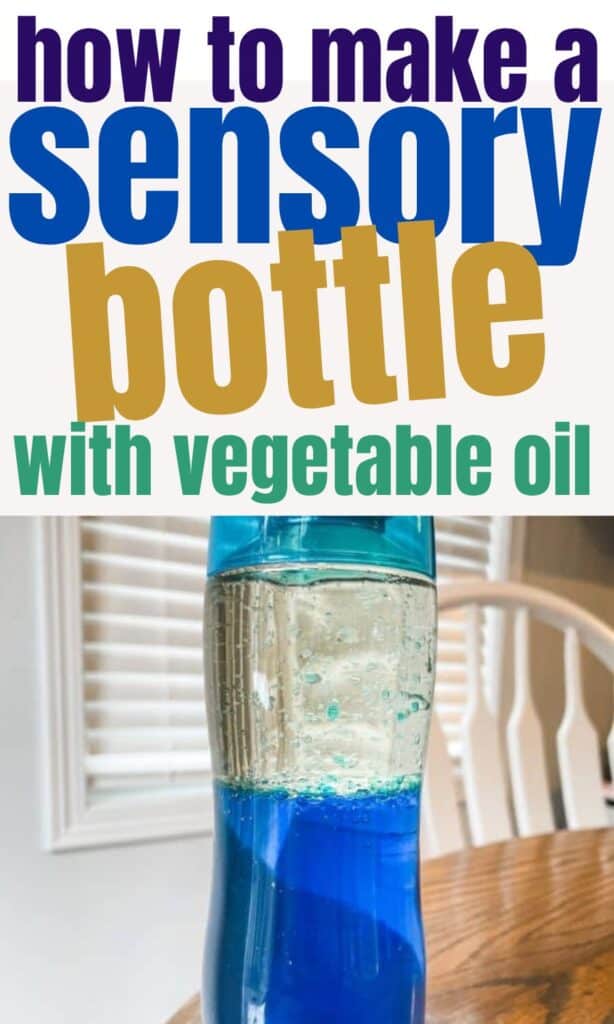
This post is all about how to make an easy homemade oil and water sensory bottle.
⬇️Pin it⬇️
What is a sensory bottle?
First things first!
A sensory bottle is a fascinating and calming tool used to stimulate the senses.
It is a clear bottle filled with different objects and liquids that can be layered on each other to create a swirling motion when shaken.
Sensory bottles are great for adults and children alike as they can help provide soothing visual stimulation and a calming effect that can help with problem-solving, creative thinking, and attention skills.
Oftentimes, people fill their bottles with items like glitter, oil, water, food dye, and other small items like pom poms, glitter, pipe cleaners, alphabet letters, or even little animals.
Sensory bottles are so much fun to make and a great tool for classrooms, sensory rooms, or at home to calm anxious minds and assist in relaxation.
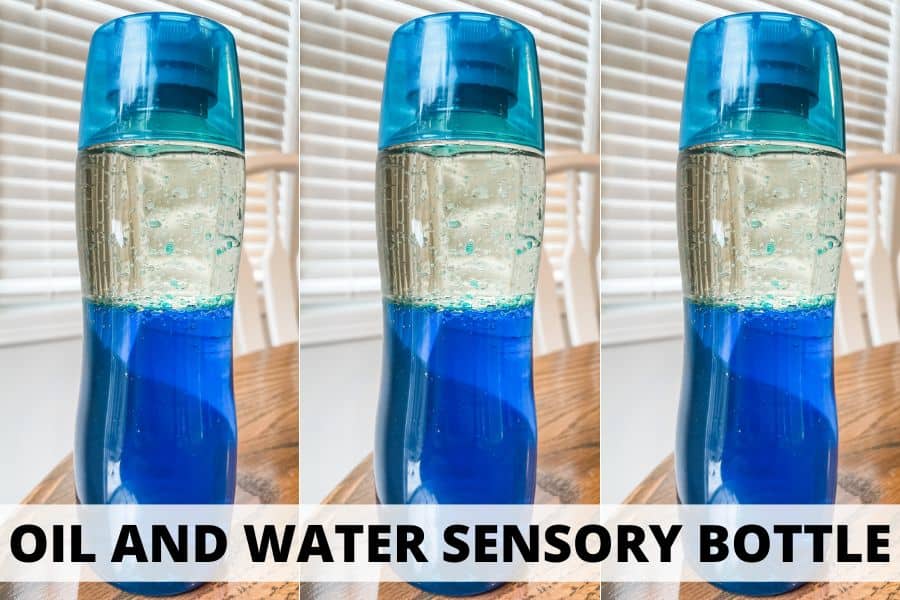
Oil and Water Sensory Bottle DIY
A little background info
The other day, I was working on some glitter sensory bottles using water and corn syrup for my daughter, and I decided to try something different for one of them.
I was kind of over all the glitter, so I decided to make a simple oil and water sensory bottle I remembered loving as a kid.
These are super simple and use just three ingredients! Keep reading for the full tutorial and materials used.
Materials and ingredients
Creating this sensory bottle is an incredibly fun and simple project that shows off your creative side.
And, the best part is, it’s super easy, and it doesn’t require much in the way of materials – only oil and water, not to mention food coloring if you feel like making it more visually vibrant (which I highly recommend)!
There’s just something about mixing different liquid ingredients together and shaking them inside a bottle that’s oddly satisfying and enjoyable.
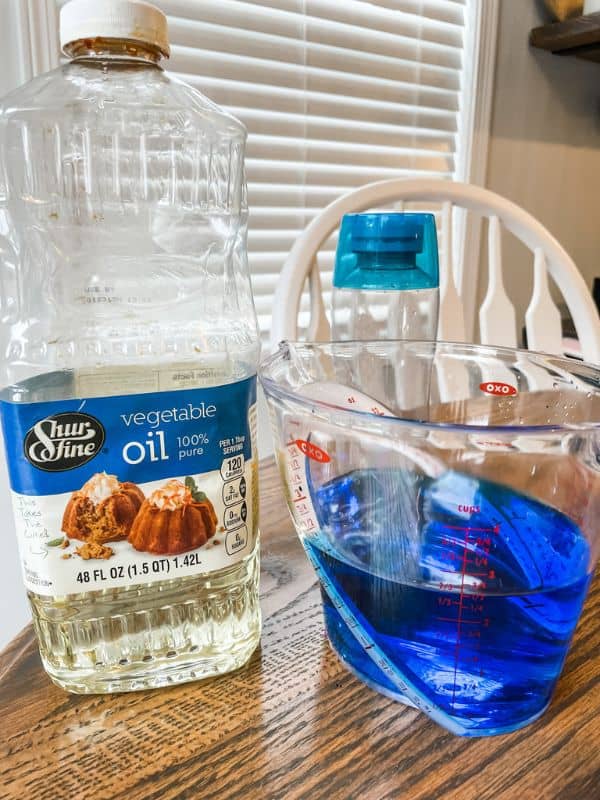
Here are the materials we used:
- Clear plastic bottle (I used a Core Hydration water bottle, but many people also love using plastic Voss bottles.
- Warm water (from the tap is just fine).
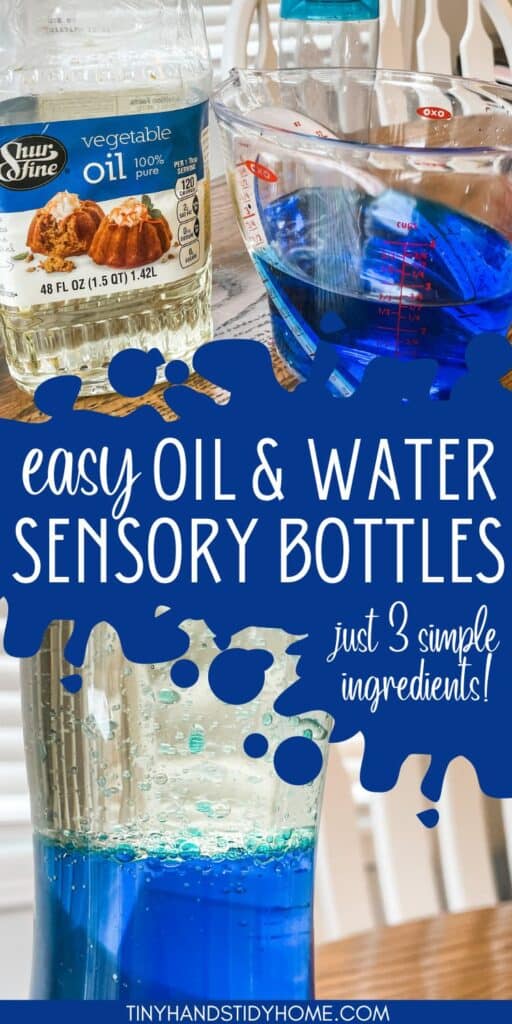
- Vegetable oil
- Blue food coloring
Please note there are many ways to make oil and water sensory bottles.
We like using vegetable oil because it’s easy to find at your local grocery store and works great for this type of bottle, but you may find others who use baby oil or mineral oil.
Some may use an entirely different type of oil than any of those.
Figuring out what you like best is all part of the fun and based on your personal preferences.
How to make an oil and water sensory bottle:
Step 1:
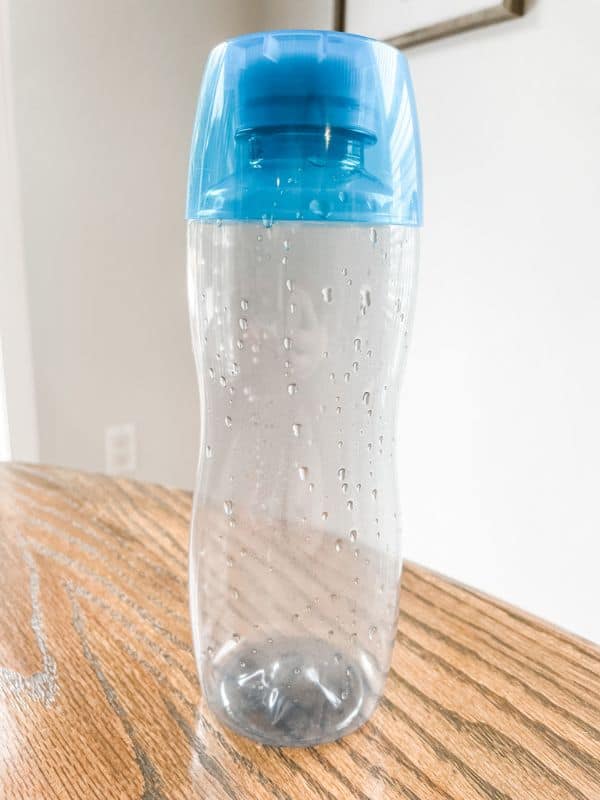
The first thing you will want to do for this sensory bottle idea is to peel the label off your empty water bottle.
This was super easy to do with the Core Hydration bottles because the label was not attached with adhesive.
Hooray for no icky, sticky residue!
Step 2:
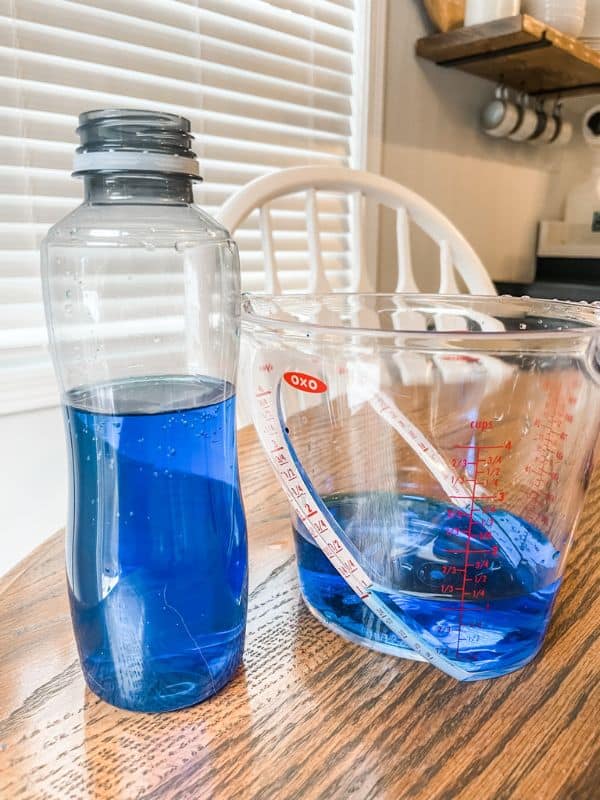
Fill a measuring cup or another liquid container with warm water from the sink. Add a couple of drops of food coloring to get beautiful blue water.
You don’t have to use colored water for your own sensory bottles, but I highly recommend it as it does make them more visually appealing.
Step 3:
Fill the clean, empty bottle about 1/2 full with the blue water. I like to fill my water slightly above the halfway point.
Step 4:
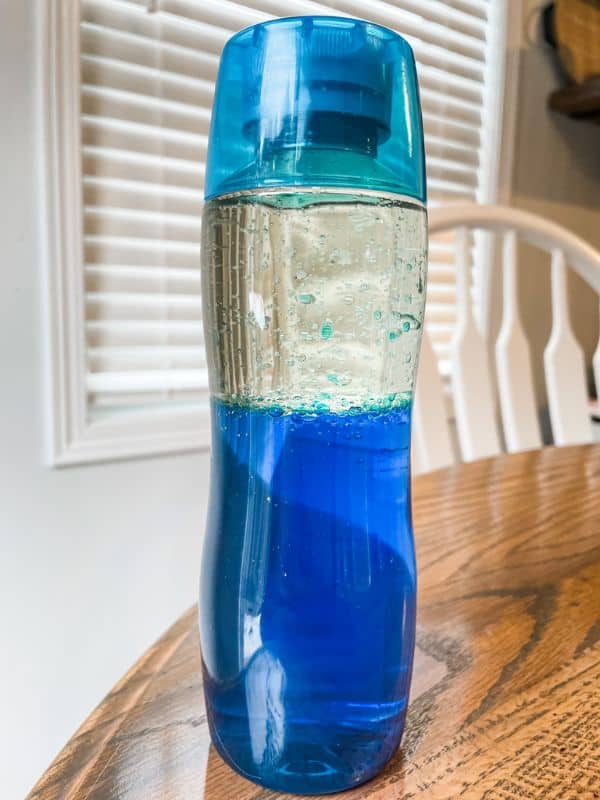
Fill the rest of the bottle with vegetable oil on top of the water.
Step 5:
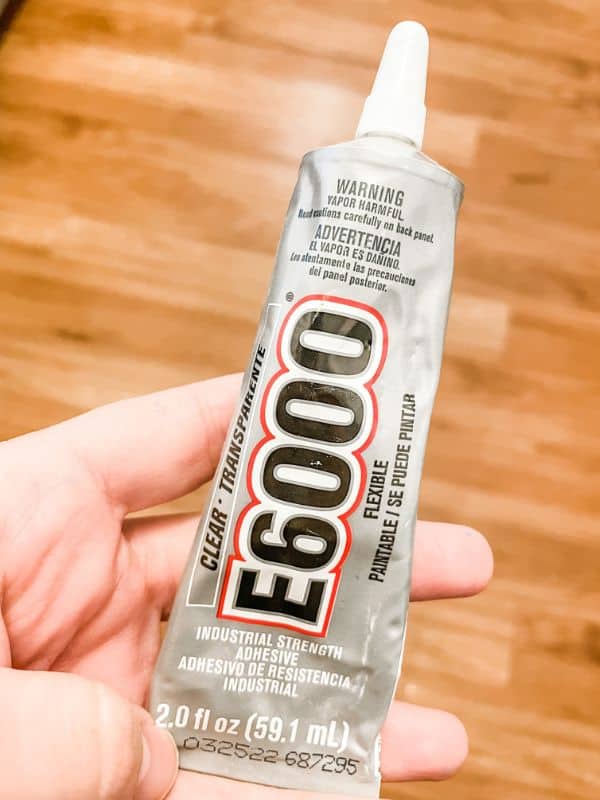
Glue the cap on the bottle. Many people will use hot glue for this step, but I prefer super glue.
When I tried using hot glue, it created leaks.
E6000 was the type of glue I had on hand, and it worked great.
Just be sure to shake your bottle around a bit before gluing to ensure there aren’t any leaks!
That’s it! You’re done!
These sensory bottles have been such fun projects for me and my daughter.
The great thing is you can make these however you want. There isn’t one true, perfect sensory bottle. It’s all about what you like best.
This oil and water sensory bottle has been a great addition to our calming bottle collection, and my daughter loves keeping it nearby in her calm down corner.
It’s so simple, but it’s one of my toddler’s favorites.
If you’re interested in more calming bottle projects like this, check out this post on our glitter sensory bottles.
Pin this post to share and save for later!

This post was all about how to make a fun oil and water sensory bottle.
Other posts you may like:
- How to Make DIY Sensory Bottles: The Simple Method That Finally Worked!
- Montessori Playroom | 6 Tips to Create an Educational Play Space for Your Kids
- The Essential Playroom Must-Haves To Create A Well-Rounded Space For Your Kids
- Shaving Cream Sensory Play For Kids: The Easiest Sensory Activity Ever!
